Creating your first adventure
Creating the adventure & objects
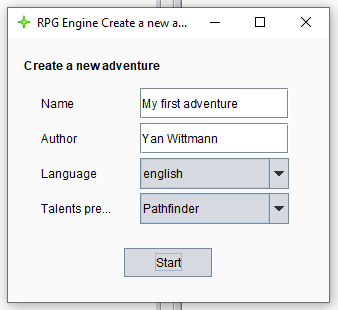
If you read through getting started, you should have already created a new adventure. If not or if you want to restart, hit ctrl+shift+n to create a new adventure. You can select the language the custom command presets and the talent presets are loaded in. You can also choose what talents to load in.
Now create a new object with ctrl+n: Select the first option Location.

A frame with the object data will open.
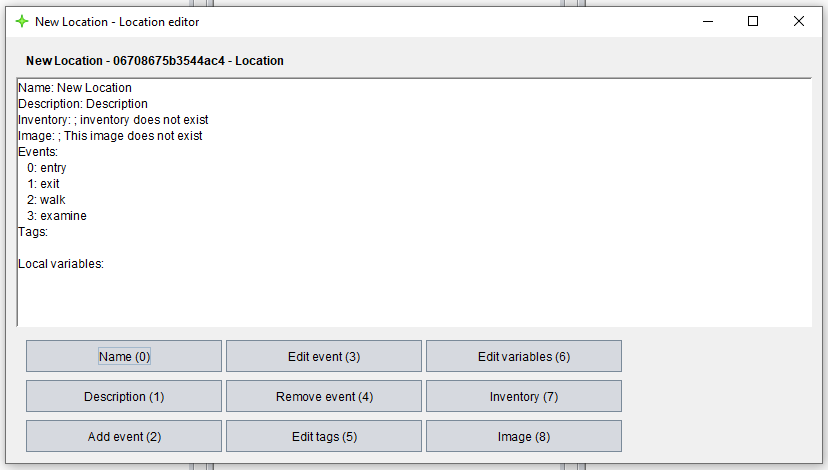
Use the shortcut ctrl+0 or the button Name to change the name to whatever you want. Do the same with the description. Let's try to add an image to the location. To do that, we need to add an image first.
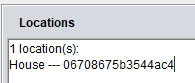
Close the frame with esc. You might notice that the name of the location is still the default name. Use ctrl+r to refresh the data.
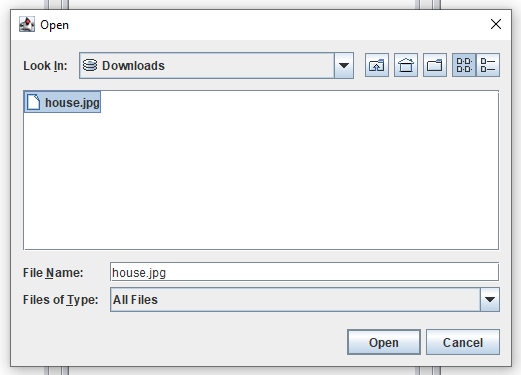
Now use ctrl+n to add an image. Select whatever image you want to use. You can close the frame that shows the image after adding it.
To scroll through the main frame, use either ctrl+q / ctrl+scroll up to scroll to the left or ctrl+w / ctrl+scroll down to scroll to the right. Now scroll to the right until the panel Images appears. If you can see your image, everything worked. Scroll back to the Location panel and select your location's UID. Hit ctrl+e to open the edit frame again. Then use the image button or ctrl+8 to add the image to the location:
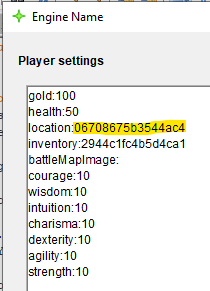
Let's set this location as the player's starting location. Close the frame and use the drop down menu at the top to select the Player Settings. Copy the UID of the location and paste it behind the variable location:.
Time to save the adventure with ctrl+s and to try it out!
Opening adventures as a player
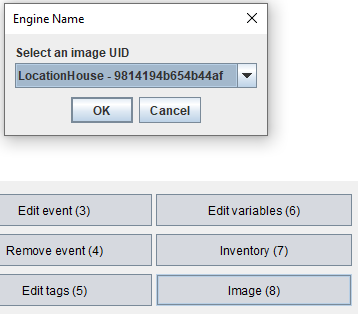
Launch the player using the launcher, select your adventure and hit OK:

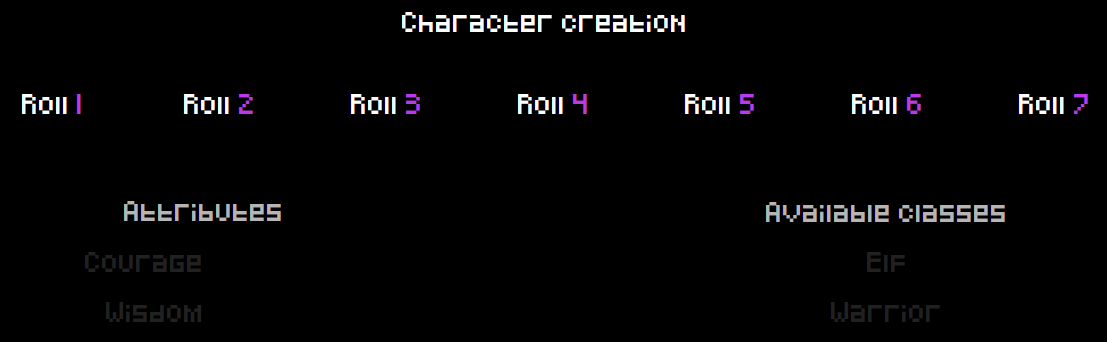
Now you need to create a character. Do this as usual.
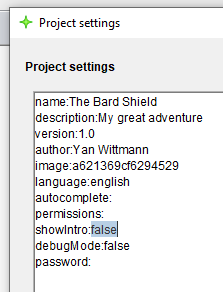
If you don't want to create a character every time you need to test your adventure, you can set the showIntro variable to false. Here you can also set things like the adventure name, description, icon, version, author, language and more. More on these settings later.
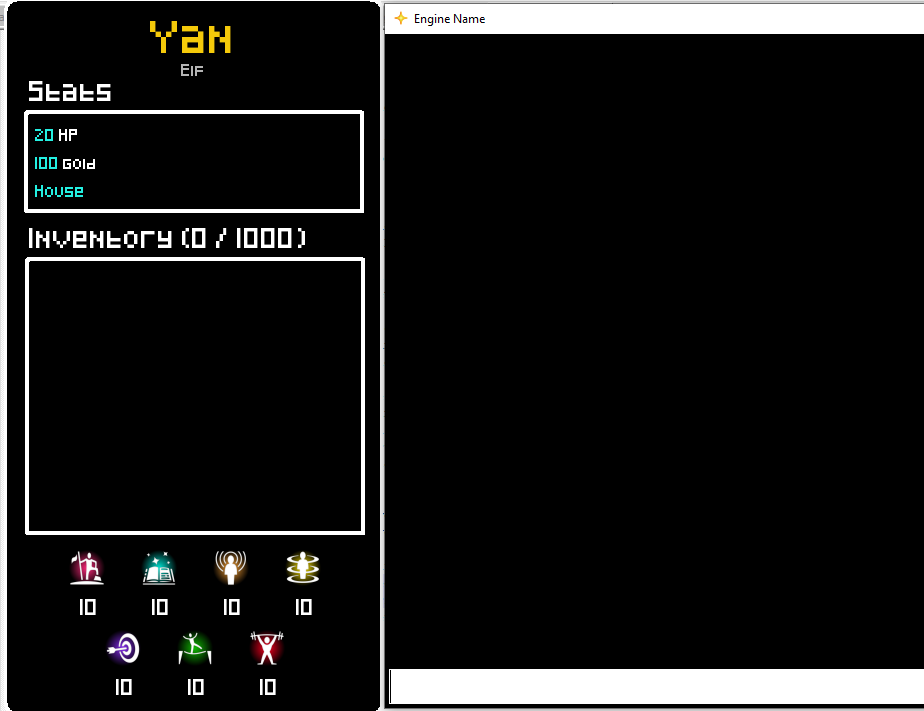
The player stats frame now shows the location you created! But there's not much else we can do yet. So, let's return to the editor.
Coding events & custom commands
Let's make it possible to walk between different locations. Create a new location to which we want to go.

Remember customCommands? We will be using one of those to do this. Scroll all the way to the right until you can see the CustomCommands panel. There should already be a few default ones. The one that we are interested in is the Walk command.

Open it by selecting the command's UID and hitting ctrl+e. Now take a look at the Events list. There is already one with the ID 0 named commandExecuted.
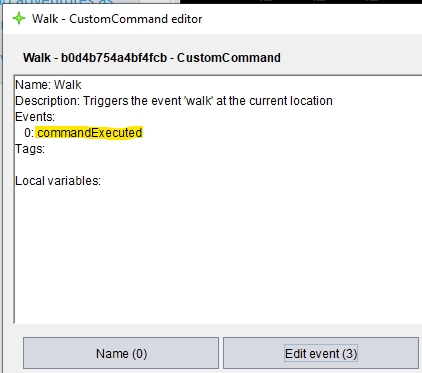
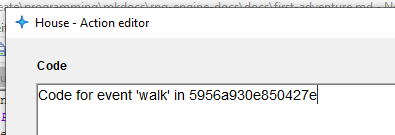
Use the button Edit event or the shortcut ctrl+3 and type in the ID 0 to open it. The action editor frame will pop up.
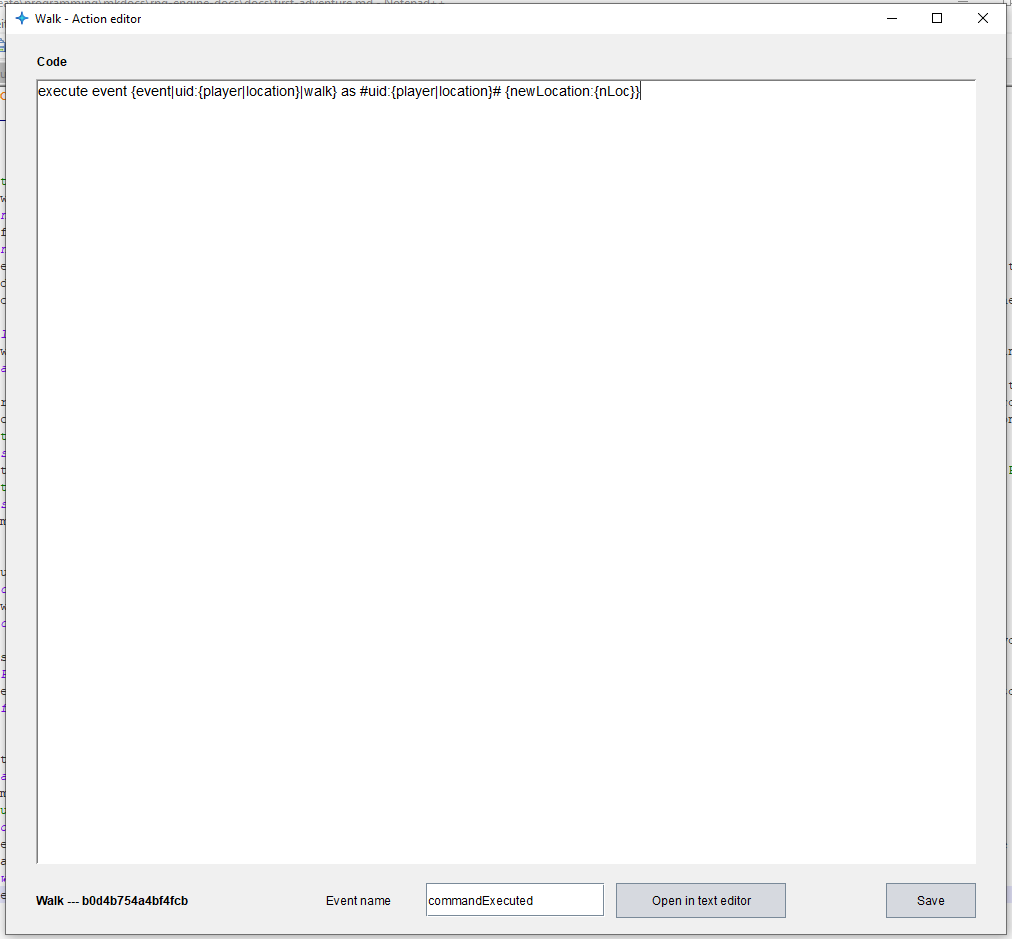
This is the code that is being executed as soon as the command is detected. I know, all of this seems a bit overwhelming at first, so let's take a step back.
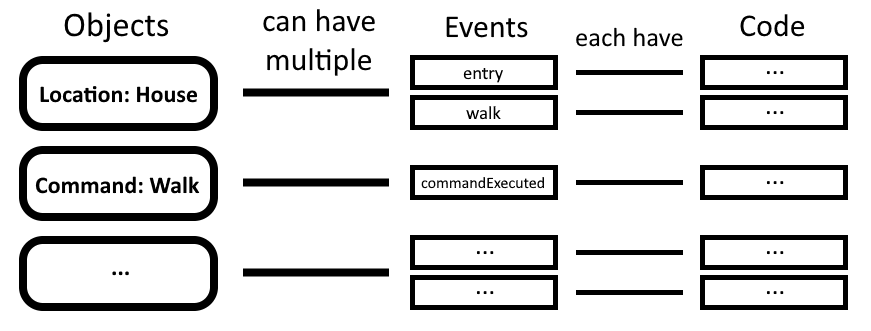
Events basically are functions with code inside of them that you can execute. Every object can have these events containing code. You can create your own events but there are predefined events that get triggerd automatically. The commandExecuted event is one of the pre programmed ones, it already contains code. Here's a small diagram showing the hierarchy:
Leave the action editor open and on the walk command's object frame click on Edit command or use ctrl+7 to open the command editor.
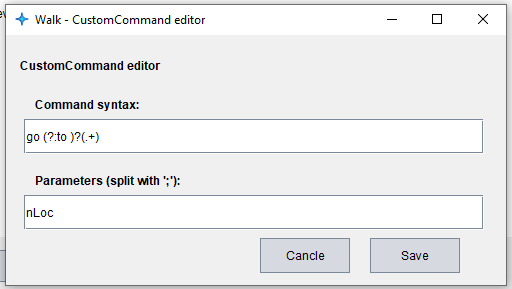
As you can see, the command syntax go (?:to )?(.+) and the parameter nLoc that the command passes over are both defined here.
The syntax is in a format known as a regular expression. A regular expression can grab information out of a formatted string. What does this one mean go (?:to )?(.+)? Ignore the brackets () and ?: for now. In this case, it requires the string to start with go. Then there might follow a to which is indicated by the ? behind the brackets making them optional. The rest can be any text .+. Okay, now to the brackets. They are there to catch the parameters, in this case the location we want to go to. This is why there are brackets around the (.+). The first pair of brackets are required since we want to make the to optional and therefore need the ? behind the entire string. But we are not interested in wether the player typed a to, which is why we tell the regular expression to not fetch what is inside of the brackets using ?: at the beginning of the brackets.
I know this seems pretty complicated at first, but try using the website https://regexr.com/ to learn more about regular expressions and you too will agree that they are a great thing.
The parameter nLoc is then being passed over to the event where you can use it with {nLoc}, but more on these types of variables later. The code that the event executes consists of only one line as you can see above and here:
execute event {event|uid:{player|location}|walk} as #uid:{player|location}# {newLocation:{nLoc}}
You don't need to understand it yet, we will cover all of the commands later but what it does is to trigger the walk event of the location object the player currently is at and passes a parameter newLocation containing what the player typed. Now close all those frames and go back to the object editor of the player location (the location you created first). Open the event walk by pressing the button Edit event or the shortcut ctrl+3 and entering the ID 2.
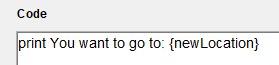
This is what an empty event looks like. Let's first simply print the parameter the player typed into the console. You can print text using the print command. Type in print You want to go to: {newLocation}. This will print the parameter newLocation, which happens to be the text the player typed in.
Let's try that out. Close the frame to save the code and save the adventure. Start up the adventure in the player and type in go to shop.
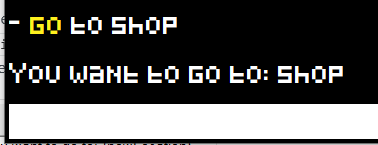
There you go, your very first event! Also, notice that the word go is automatically printed yellow. This is always done for the first word of a custom command. But it still doesn't allow you to move the player anywhere. To do this, we need to add the goto [SELECTOR(location)] command. It requires a... selector as a parameter? Again, something new.
Selectors
A selector selects specific objects that you created. The result of a selector can then for example be used as a parameter. An example for a selector is: #type:location;limit:1;tag:test#
A selector always consists of two ## with parameters inside of it. These parameters are each split by ;. When evaluating a selector, the engine starts with a list of all objects and sorts all of the ones out that don't match the parameters. The possible parameters are:
uid- checks the objectUIDname- checks for the object nametype- checks the object type (see objects & types on getting started)tag- checks if object has a taglocation- checks if an NPC has a given locationsort-[first;last;random]determines the order the objects get sorted out for thelimitparameter (needs to be set beforelimit)limit- sets the maximum amount of objects to be selectedinventory- selects all items in a given inventoryexpr-[VALUE][==;>;<;>=;<=;!=][VALUE]checks if an expression is true
It can also simply contain a UID, like so: #702c14f1b34a45e5#
if / else
Using conditions, we can decide if we want to execute certain parts of the code or not.
if<not> [VALUE] [==;>;<;>=;<=;!=;contians;matches;equals] [VALUE] (
...
) else (
...
)
If the condition is true, the if branch is selected, if it is false the else branch is executed. You can also invert this by using ifnot.
There are two more condition types:
if<not> [SELECTOR] ( - checks if a selector has at least one result
if<not> talent [TALENTNAME] [+;-] [VALUE(add/subtract)] [true;false(visible)] [true;false(forceAutoRoll)] [VALUE(text)] ( - rolls a talent
Finishing the event
The selector we would use to go to the second location would then be #uid:5db0773a0bf64e3a# (or simply #5db0773a0bf64e3a#), since the UID of the second location is 5db0773a0bf64e3a. The full command: goto #5db0773a0bf64e3a#
Now we need to check what the player typed in to check if we should really go to the shop. We can check this with the condition:
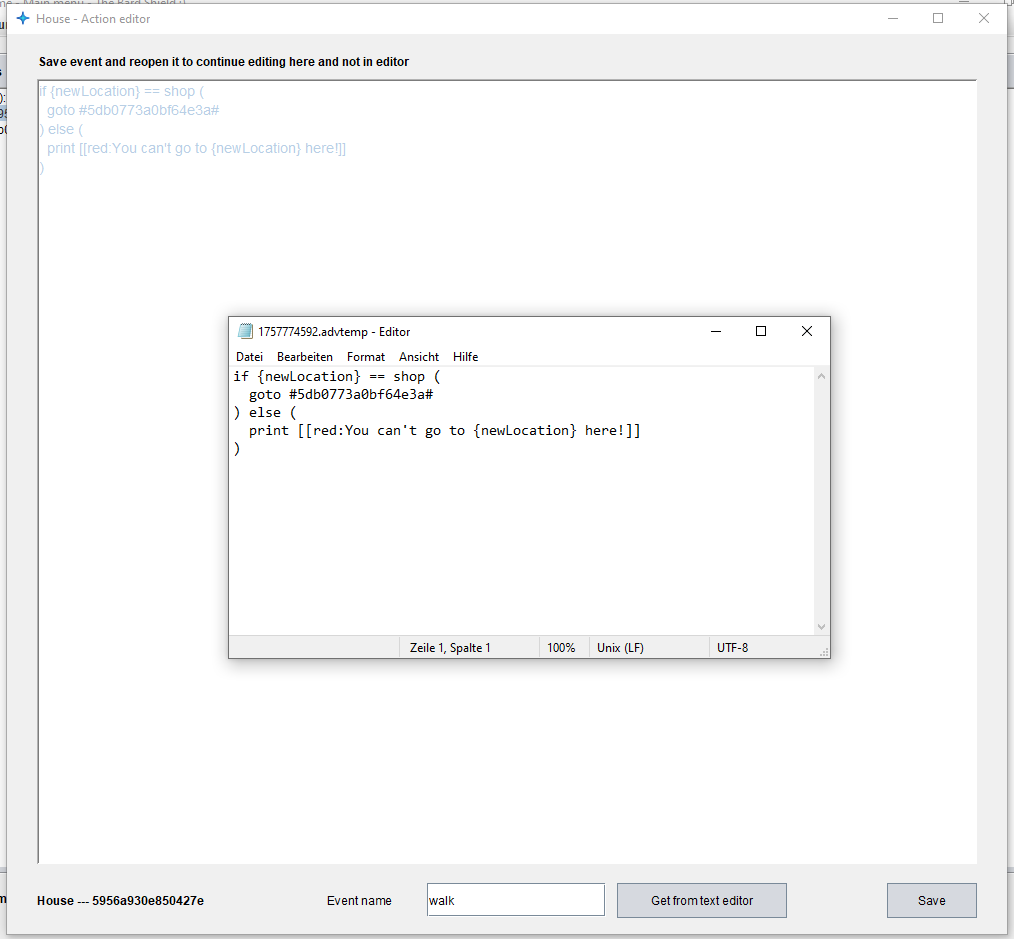
if {newLocation} == shop (
With all of that, the final event should look something like this:
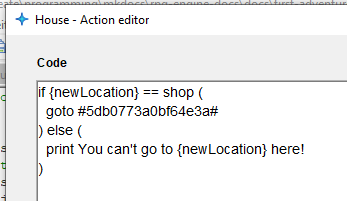
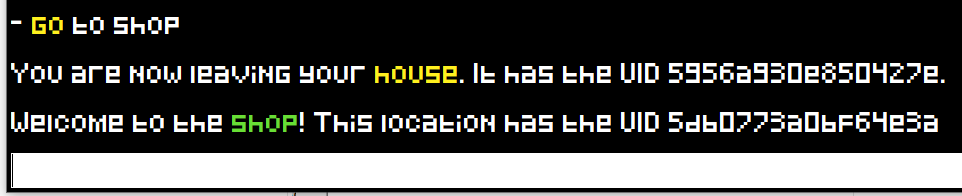
Time to save and try it out!
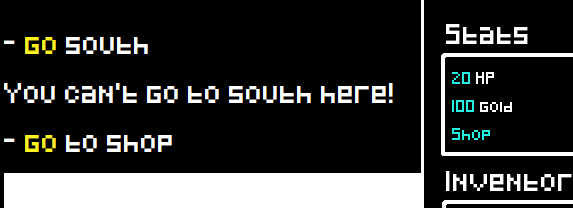
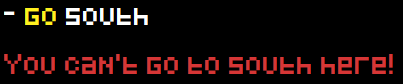
It works: When we try to go south, we get the message that we can't go there but when we want to go to the shop our location is set to the shop (as seen in the player stats frame). If you want, you can also color the text that is printed: [[red:You can't go to {newLocation} here!]]
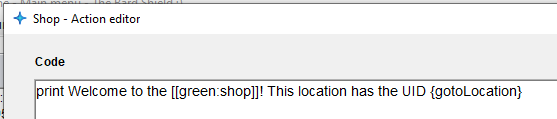
As I said, there are other events that get triggered automatically when certain things happen in the engine. The goto command triggers two other events: The exit event of the location the player leaves and the entry event of the location the player walks to. Both of these have the following parameters: {comeFromLocation,gotoLocation}
If we fill these in:

One small tip for editing events: You can press the button Open in text editor to open the code in the editor which makes it a lot easier to write large amounts of code. As soon as you save the file, the code in the action editor gets refreshed.
Okay, these were the basics that you need to know to create your very own adventure. But that's not all there is to know; it's just the tip of the iceberg! Now go read the rest of the documentation via the drop down menu above to be ready!